 mBlock is a visual drag-and-drop programing language based on Scratch by MIT.
Installing mBlock
Download mBlock
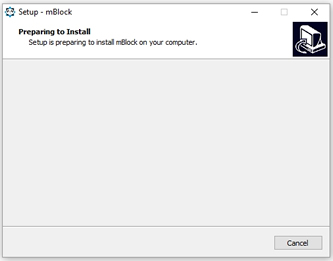
Install mBlock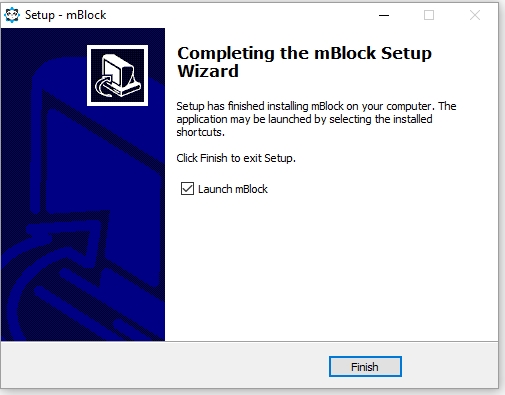
Mac users only
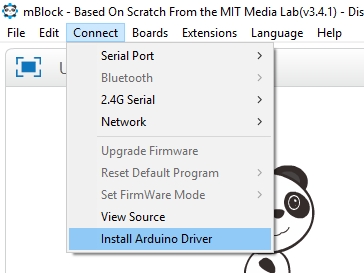
Mac users only:
You must choose Connect -> Install Arduino Driver
(requires a reboot after)
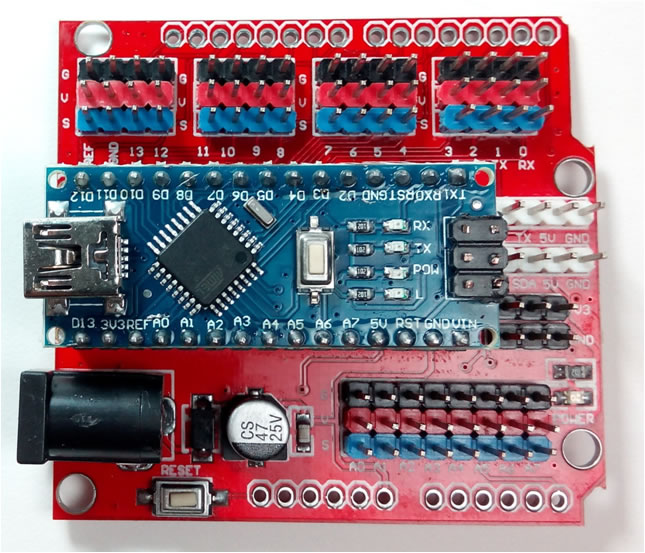
Connect BrainBlock to mBlock
Requires a BrainBlock (Arduino)
If you do not have your BrainBlock yet, you can complete these steps later, in class.
-
Choose the Right Board
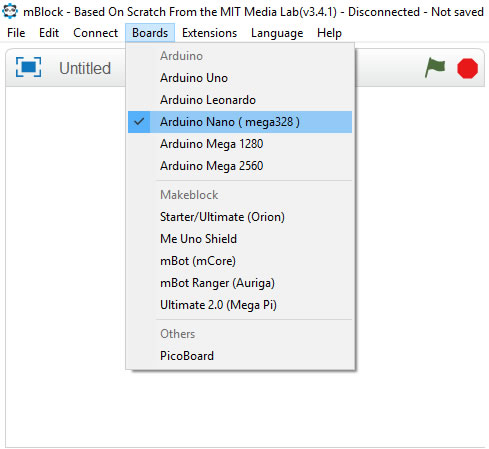
Everytime you run mBlock start by checking that you are using the right board:
Arduino Nano (mega328)
-
Choosing the WRONG Port
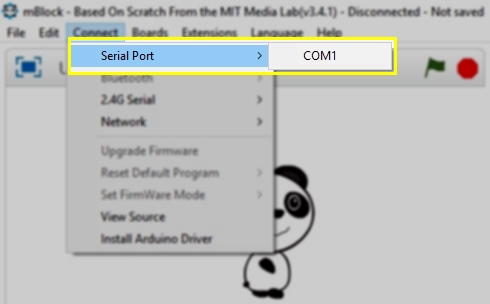
Click Connect -> Serial Port
Have a close look at the list of Serial Ports
This is the list of Ports you WON'T use
(You might have nothing in the list, that is ok too)

Close the list of Ports
You can simply click anywhere else on the screen
-
Connect via USB
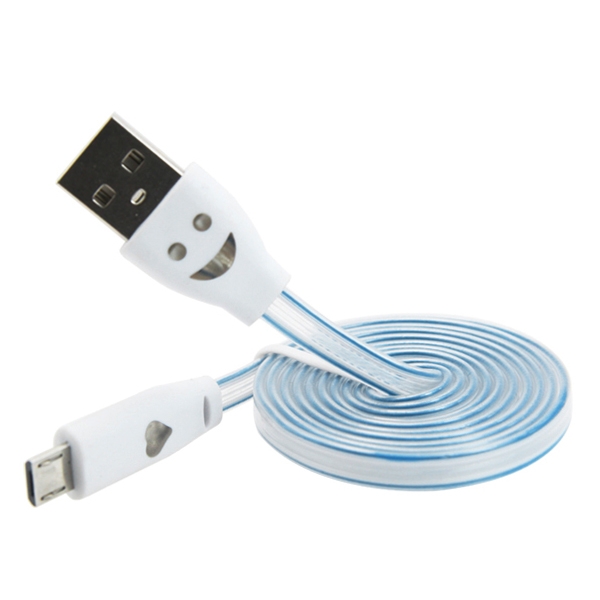
Plug your USB cable into your BrainBlock and your computer
-
Choosing the Right Port
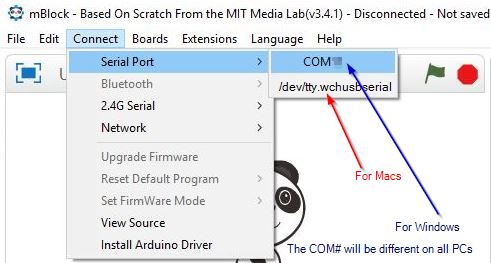
Click Connect -> Serial Port
You should now see a new Port in the list
The new Port in the list is the correct one
Click on the correct port
Please note that if you plug your BrainBlock into a different USB Port in the future
you will get a new Port number
-


You should see the message at the top of the screen change from:
Disconnected to
Serial Port Connected
If you unplug your USB cable it will change back to Disconnected,
and you have to reconnect each time.
Upgrade Firmware
- If you have completed all the steps above you are now ready to Upgrade Firmware
Firmware is the program that gets loaded into your Brainblock
and tells it how to communicate with mBlock.
-
When to upgrade your firmware:
-
If your BrainBlock is new
-If you uploaded a program in Arduino mode
-If your BrainBlock is not working
-
First you must be connected (see previous instructions)
- Firmware is a program that stays on a Microcontroller (microchip)
We must teach your BrainBlock
how to be a robotic brain
We will download thousands of instructions into your BrainBlock in only 17 seconds
-
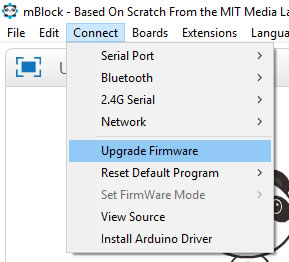
Click Connect -> Upgrade Firmware
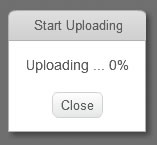
Do not worry if it shows 0% the whole time
If it is working you will see the RX & TX lights on your BrainBlock flickering 
Uploading will take about 17 seconds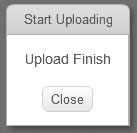
Wait until you see the Upload Finished Message- You're Done!
Now you can try hooking-up something simple like
the BlinkBlock to test your BrainBlock.
- If it did not work (or is taking longer than a minute)
you probably chose the wrong Serial Port.
-Unplug the USB Cable
-Close the Upload
-Close mBlock
-Start Over
Advanced: Modes
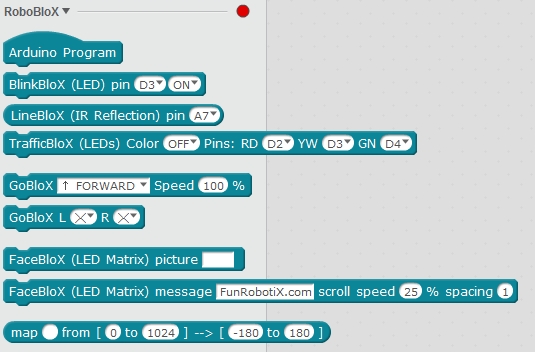
RoboBloX Extension
- DashX has created an extension (library) to make using your RoboBloX in mBlock easier:
mBlock allows developers to create a library (extension) with special blocks.
Here are a few of the new blocks that you can add into mBlock
from FunRobotiX:
- Download the
mBlock RoboBloX
Library (v2.1)

You may need to right-click on the link above and choose "Save As", or "Save target as"
Make sure you save it somewhere you can remember and find it later.
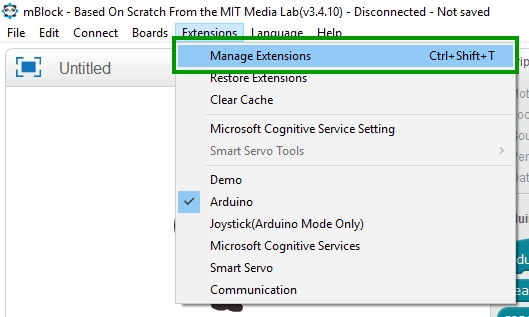
Open mBlock, click on Extensions from the top menu
Choose Manage Extensions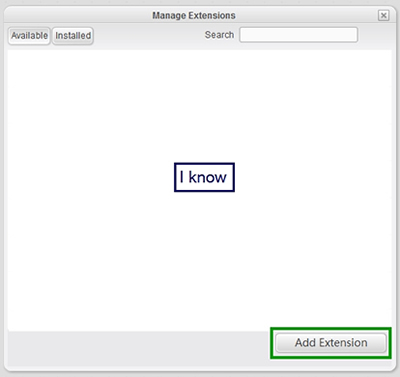
If you are not connected to the internet you will get an empty box (and maybe an "I know" warning box)
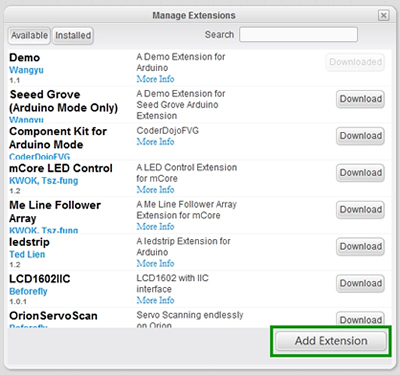
If you are connected to the internet you will see a list of extensions
Just click on the Add Extension Button 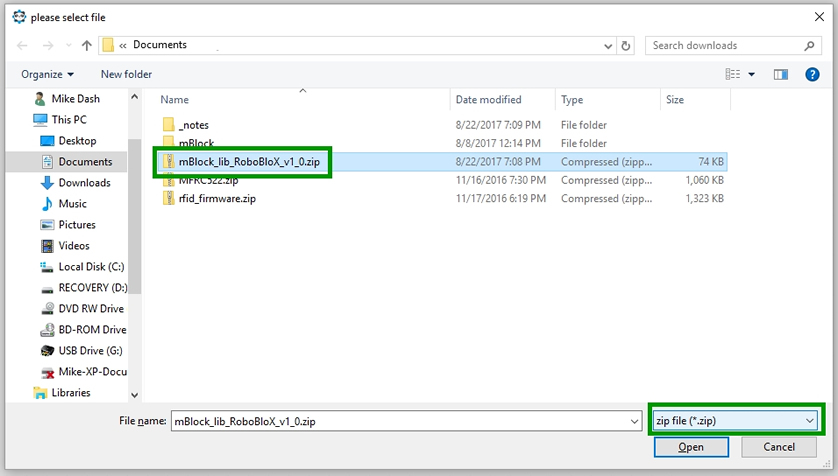
Change the file type from .json to .zip
Then find the library extension file you save earlier:
RoboBloX_v??.zip
Click Open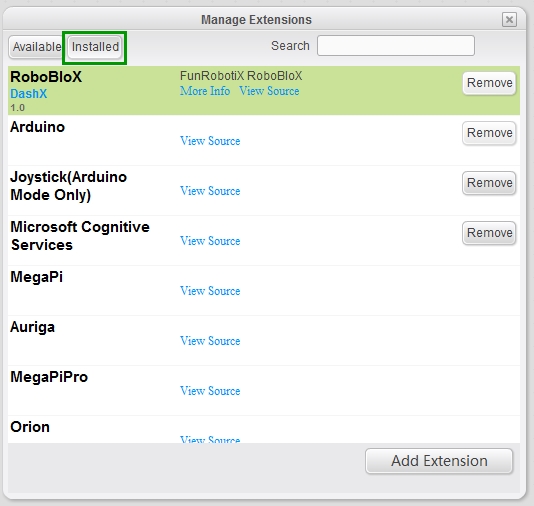
Click the Installed Button
You should now see RoboBloX in the list!
Click the X to close the window
Now if you click on the Robots block
You should see all the new RoboBloX blocks!
RoboBloX Custom Firmware
- To use the library in mBlock mode you will need to install the RoboBloX Firmware:
Download the installer
or
Windows Manual Install
- Open mBlock and take note of the version at the top of the screen (v3.4.10)
- Open the Command Prompt (Click Start and type Command)
- Copy and paste this command
(change the version to match your mBlock version)
(You need to right click inside the Command
Prompt window to be able to paste)
xcopy "%AppData%\com.makeblock.Scratch3.4.10\Local Store\mBlock\libraries\RoboBloX\src\nano328.hex" "%AppData%\com.makeblock.Scratch3.4.10\Local Store\mBlock\tools\hex" /Y
- Go back to mBlock and do a Firmware upgrade
-
- Press Command + Spacebar to launch Spotlight search
- Type: Terminal
- Copy and paste this command into the terminal
cp ~/'Library/Application Support/com.makeblock.Scratch*/Local Store/mBlock/libraries/RoboBloX/src/nano328.hex' ~/'Library/Application Support/com.makeblock.Scratch*/Local Store/mBlock/tools/hex'
- Go back to mBlock and do a Firmware upgrade