Xtreme STEM
DashX

RoboBloX

WiggleBlock

wiggle

Theory

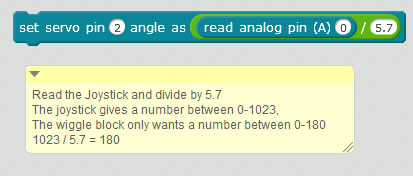
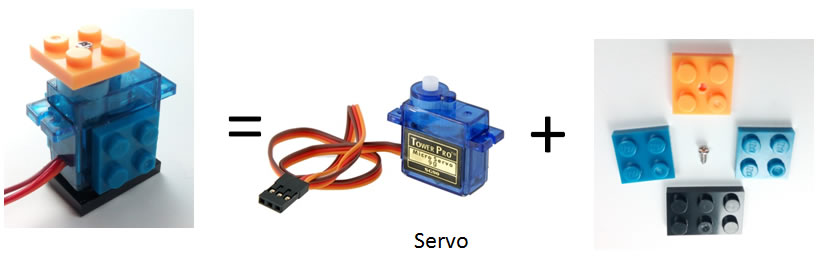
  • The WiggleBlock is an R/C Servo. R/C stands for Remote Control; these servos are most often used in remote control toys.

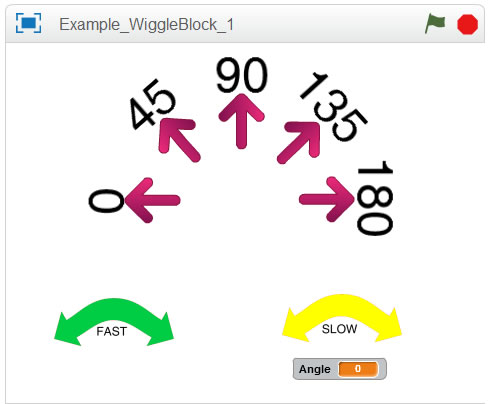
    Servos know what position they are pointed in. You can tell them to point in any direction they are capable of.
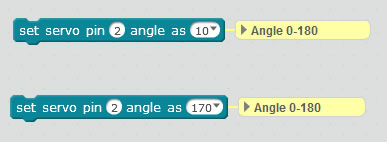
    These servos can move 180 degrees (half a turn).

    Servos do not spin in circles. Also they do not move at all if they are already at the angle you tell them to move to. To see them move you must move back and forth between different angles.


Assembly

  1. Required Materials


    wba
    • R/C Servo
    • Brick (2x2) with hole
    • Brick (2x3)
    • 2 Bricks (2x2) Optional
  2. wba
    Put a silver stripe on the side of the connector with the brown wire
    this is the G = Ground side
  3. wb
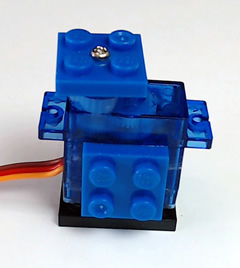
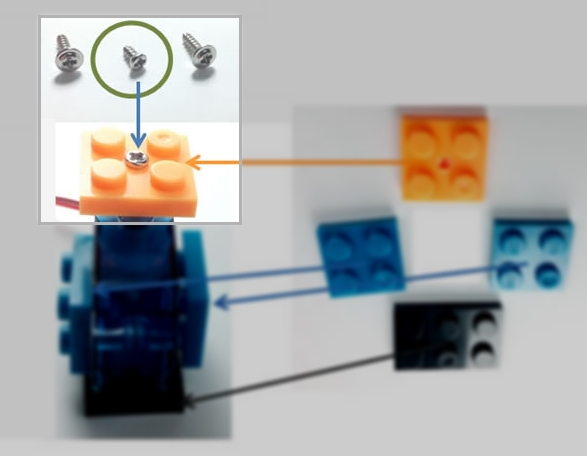
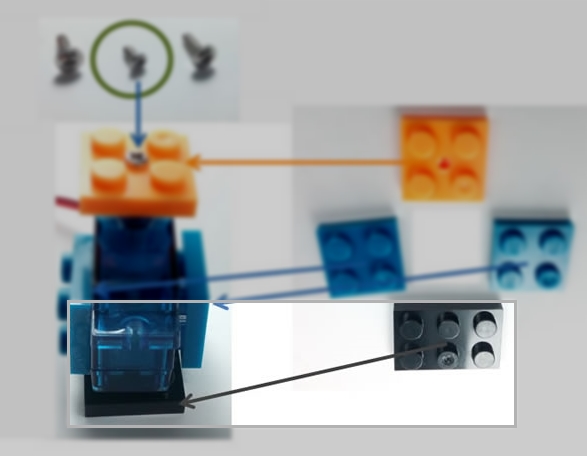
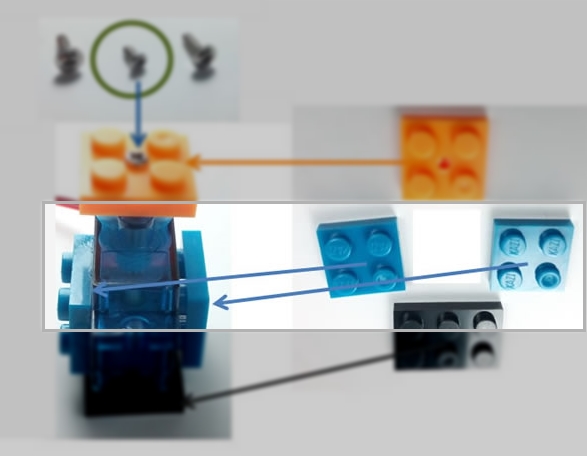
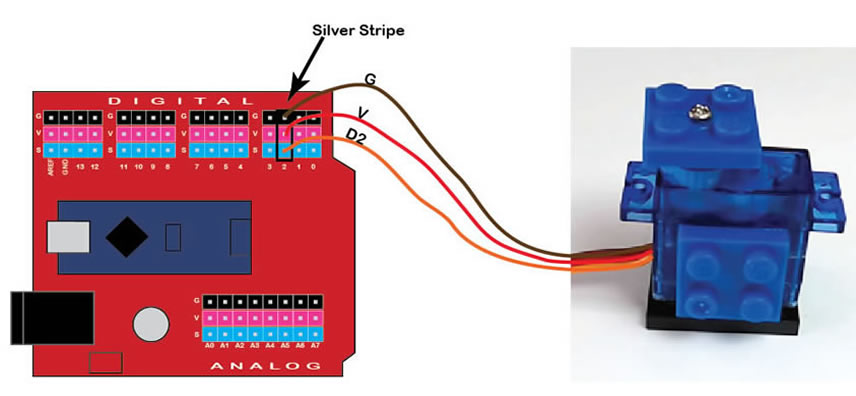
Connect the servo to the BrainBlock
  4. Connected
    Make sure you are connected.
    See the mBlock instructions for more details
  5. 90 deg
    Add this block
    Make sure you change it to pin 2
    Click on the block to run it
  6. Servo
    Your servo is now exactly positioned at 90 degrees
    Keep it plugged in for the next steps
  7. Screws
    Your package has 3 screws
    Choose the small screw
    (the two big ones won't fit properly)
  8. Stop
    Check with Mr. Dash before continuing
  9. 2x2
    The top block needs to be superglued and screwed on
    Place a very tiny amount of superglue in the bottom hole of the 2x2 brick
  10. WiggleBlock
    Place the top block onto the servo
    Screw it into place
    Make sure it is on straight
  11. Servo
    Remove all the stickers from the Servo
    (One on each side and a there may be a tiny one on the bottom)
  12. sandpaperq-tip
    Sand and acetone the top bumps of the 2x3 brick
  13. Servosandpaperq-tip
    Sand and acetone the bottom of the servo
  14. Stop
    Check with Mr. Dash before continuing
  15. Place 6 drops of superglue on the bumps of the 2x3 brick
  16. Bottom
    Carefully place the 2x3 on the bottom of the servo
  17. clock
    Hold the brick in place for at least 1 minute
  18. Optional


    Sides
    Sand, Acetone, and glue a 2x2 brick on each side
    Make sure you glue the top of one brick
    and the bottom of the other


Connection Diagram

  • wb


mBlock

  • To see the WiggleBlock Move make sure you have two blocks like below with angles different from each other.
    You can type any angle between 0 - 180.
  • wb
  • wb
    Click on picture to download the program
  • Advanced

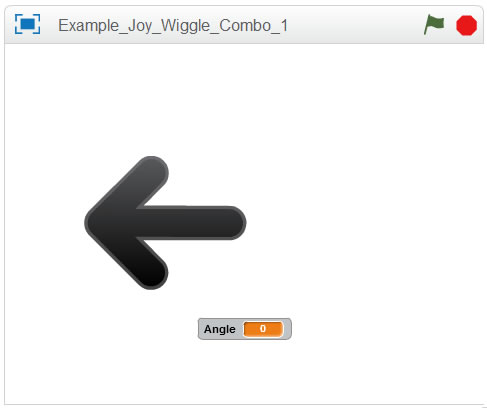
    You can control the WiggleBlock with a JoyBlock, EyeBlock, or KnobBlock

    wjb

  • wjb
    Click on picture to download the program
  • Mini Challenges

    • Put a "head" on your WiggleBlock, then create 2 sprites: one to turn the head left, the other to turn right
    • Make a sprite that makes the head shake back and forth (say no)
    • Make a sprite that makes the head shake back and forth slowly
    • Make a mood gauge: put an arrow on the WiggleBlock, then make a sheet of paper with 5 moods like (Angry, Happy, Sad, Silly, Surprised) make a sprite to point to each mood


Scroll to Top