Xtreme STEM
DashX

RoboBloX

GoBlock

GoBlock


Assembly

  1. Materials Needed

    gb
    2 - Flat bricks 2x2 (any color)
    1 - Motorized gearbox
  2. GoBlock

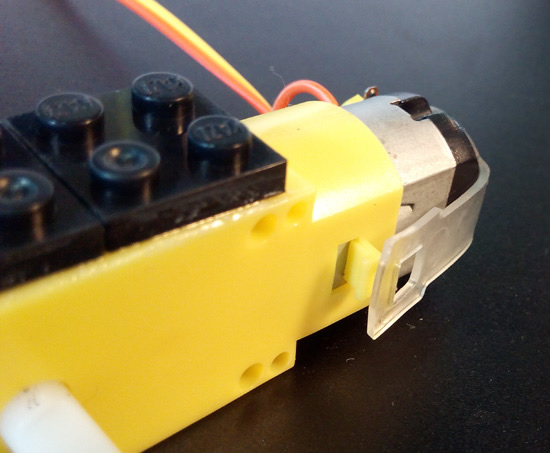
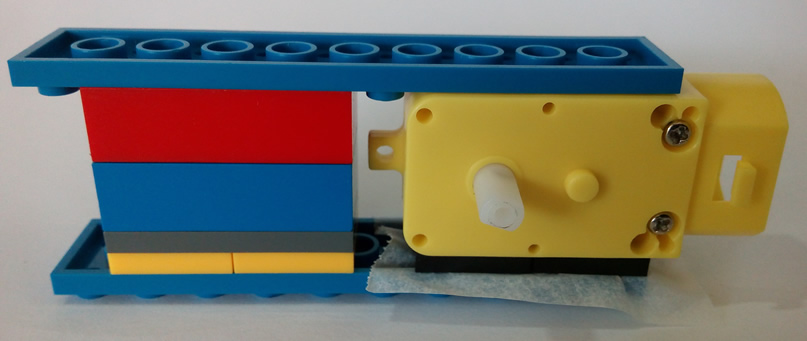
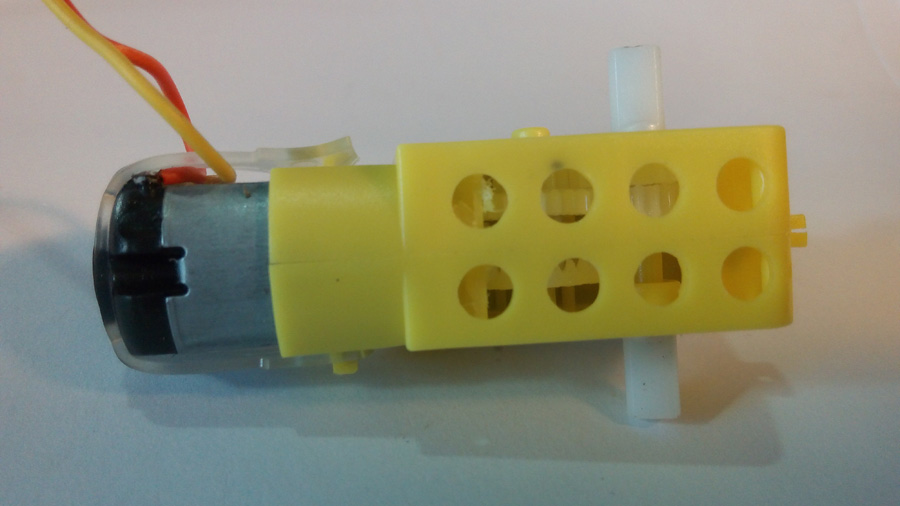
    Remove the clear plastic strap off the yellow plastic hooks

  3. Motor removed 
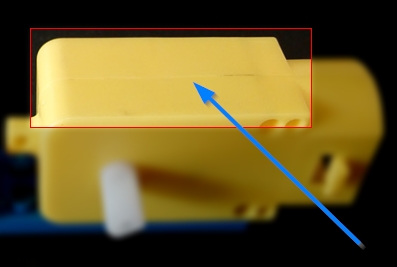
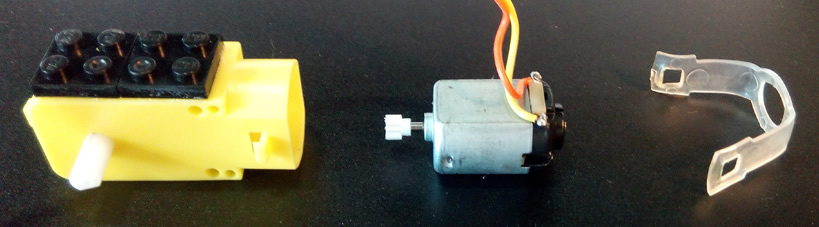
Remove the motor from the yellow gearbox
  4. Bricks sandpaper
    Sand the bottom of both blocks
    (lightly for 5-10 seconds)
  5. Blocksandpaper
    Sand the top of the gearbox
    (lightly for 5-10 seconds)
  6. Bricks q-tip
    Acetone the bottom of both blocks (using a cotton swab)
  7. Block q-tip
    Acetone the top of the gearbox (using a cotton swab)
  8. Jig
    Build a jig like this
    This is used to make sure the bricks glued on the top line-up with the holes cut in the bottom
  9. gb
    Place the gearbox in the jig
    This holds the blocks and gearbox in the exact position needed while gluing
  10. gb
    Pull the jig apart in-half and stick on your 2 "black" bricks for gluing
    (make sure to add wax paper to protect the jig from glue)
  11. Stop
    Check with Mr. Dash before continuing
  12. jig . 2x2
    Place a small amount of Super Glue on the bottom of the "black" bricks
    Super Glue should be applied only on the areas highlighted in yellow
  13. GoBlock
    Leave the jig up-side-down
    Pick-up the jig with the gearbox
  14. GoBlock
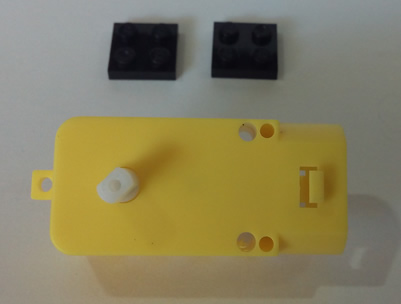
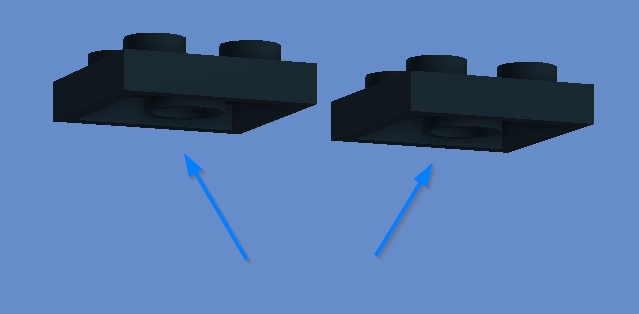
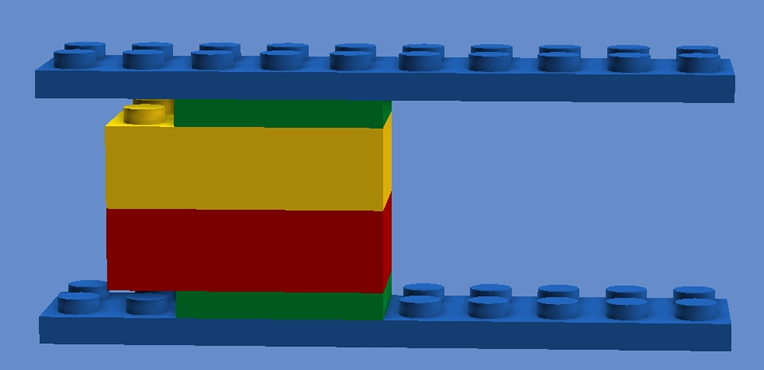
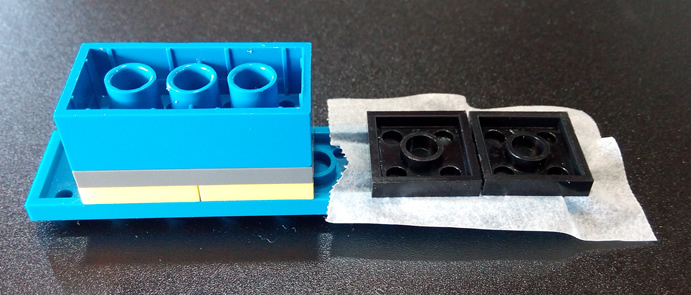
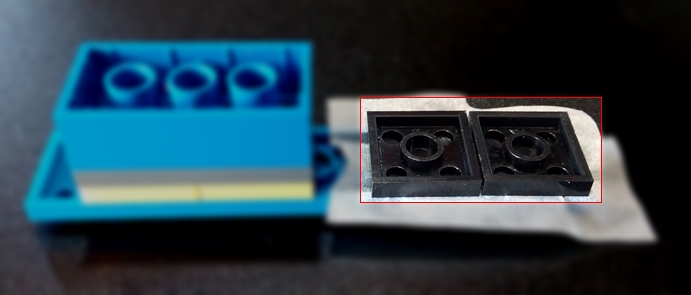
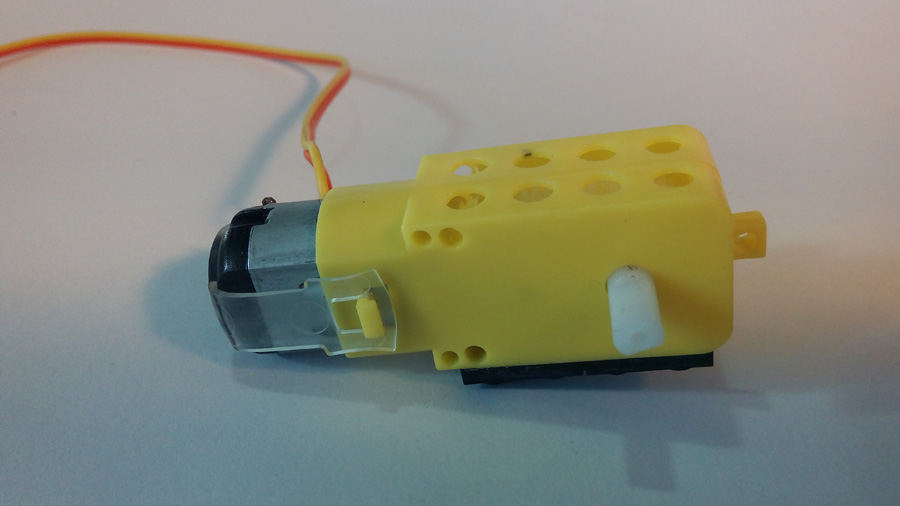
Carefully bring the gearbox down onto the "black" bricks.
    Press firmly (but not too hard) together for 1 minute.
    Do not wiggle, move, slide any part of the assembly while gluing.
  15. clock
    Wait at least 5 minutes before removing the jig
    You don't need to hold it during this time
  16. GoBlock
    Very gently pull the jig off the top and bottom of the new GoBlock.
  17. block
    To strengthen the bond put a little Super Glue around the edges
    Super Glue should be applied only along the edges highlighted in red
  18. motor
    Solder the wires on to the motor
  19. Motor removed
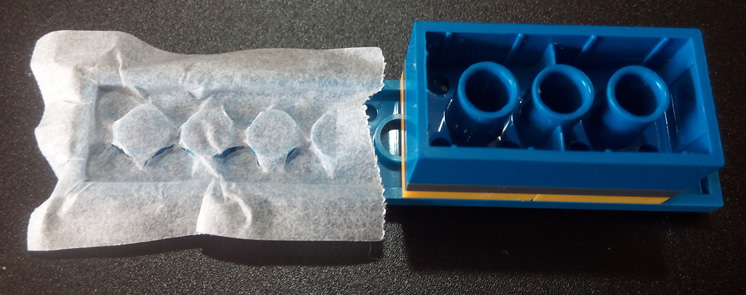
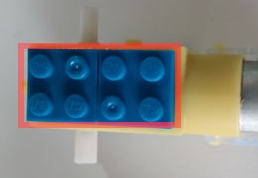
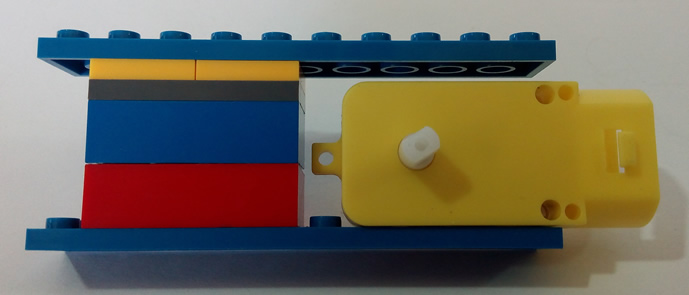
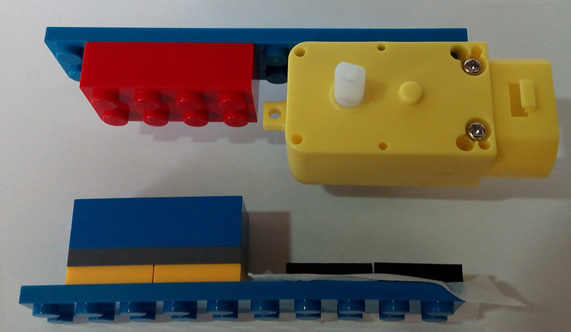
Place the motor back into the gearbox (GoBlock)
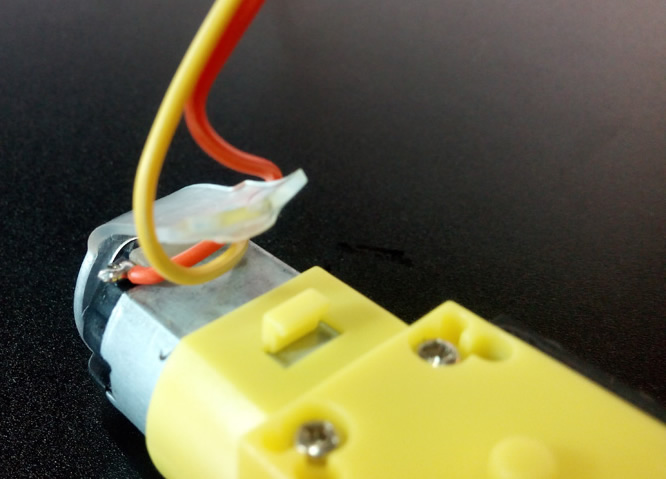
  20. Wires
    Cross the wires over before placing the clear holding strap back on
  21. Wires
    Place silicone or hot glue over the solder connections to protect them
  22. GoBlock . GoBlock . GoBlock
    You're Done!
    Your GoBlock should look like this.


Testing

Brainblock

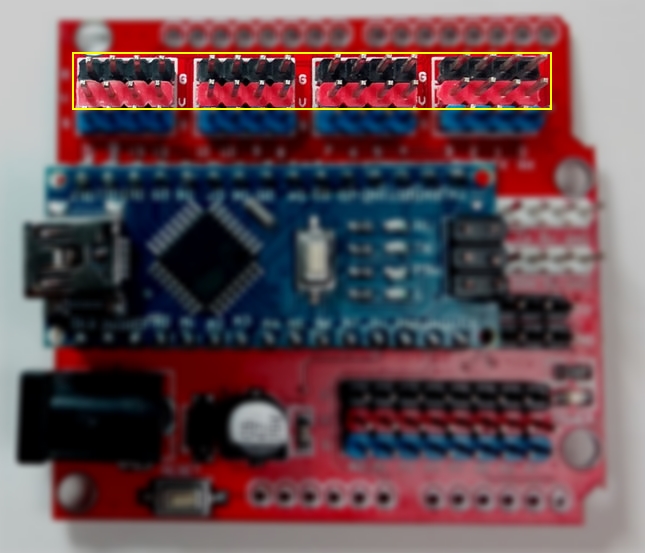
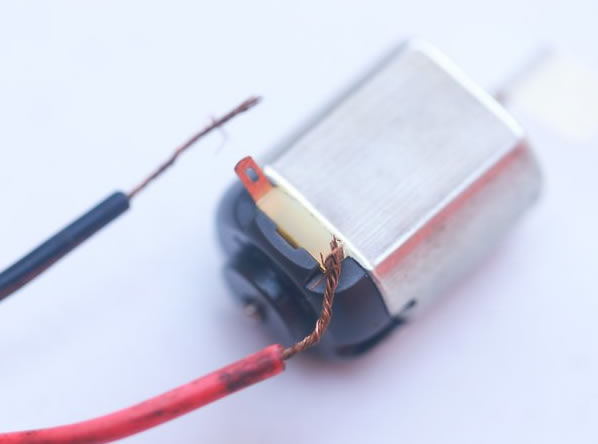
You can test your motor by connecting it directly to 5 volts on your BrainBlock
Hook the motor to any G (Black) and any V (Red)

Do NOT connect to any S (Blue) pins - this will damage the signal pins,
as they are not strong enough to turn the motor on and off.

To control the motor with your BrainBlock through mBlock you need a DriverBlock.


Project Ideas

    1. Windmill
    2. Merry-go-round
    3. Conveyer belt
    4. Amusement park ride
    5. Ski Lift


Scroll to Top